How to Install Starlink Kit in South Sudan: A Comprehensive Guide

In an increasingly digital world, reliable internet is crucial for education, business, healthcare, and communication. South Sudan, being one of the youngest nations, has faced several challenges in establishing traditional internet infrastructure, particularly in rural areas. Starlink, SpaceX’s satellite internet service, offers a revolutionary solution, promising fast and reliable internet even in the most remote locations. With the expected arrival of Starlink in South Sudan, users must be familiar with the installation process. This comprehensive guide provides step-by-step instructions and critical information on how to install a Starlink kit in South Sudan.
1. What is Starlink and Why It’s Vital for South Sudan?
Starlink is a satellite-based internet service designed to bring fast, low-latency broadband internet to underserved and rural areas worldwide. Unlike traditional internet services that rely on ground-based infrastructure like fiber optics, Starlink leverages a constellation of low-Earth orbit (LEO) satellites to provide seamless global coverage. For South Sudan, where internet connectivity is limited and expensive, Starlink offers a viable solution.
South Sudan has primarily relied on mobile data services and traditional satellite internet, which are often slow, costly, and unreliable. With Starlink, users can expect high-speed internet (ranging between 50 Mbps and 500 Mbps, depending on the package) and unlimited data, significantly improving internet access in rural communities. Moreover, Starlink’s low-latency performance makes it suitable for activities like video conferencing, streaming, and online gaming.
Given the importance of this service, understanding how to install the Starlink kit is essential for anyone looking to leverage the power of satellite internet in South Sudan.
2. Preparing for Starlink Installation in South Sudan
Before diving into the installation process, there are several preparatory steps you should consider to ensure a smooth setup:
a) Confirm Service Availability
Although Starlink is expanding rapidly, service availability in South Sudan may depend on when the official rollout begins. You can check Starlink’s official website to confirm whether your area is currently covered. If the service is not yet available, pre-ordering the kit can reserve your spot for future installation.
b) Get the Necessary Equipment
Starlink users will need a few essential pieces of equipment that come in the Starlink kit:
- Satellite Dish: Also known as the “Dishy,” this is the core component of the Starlink system.
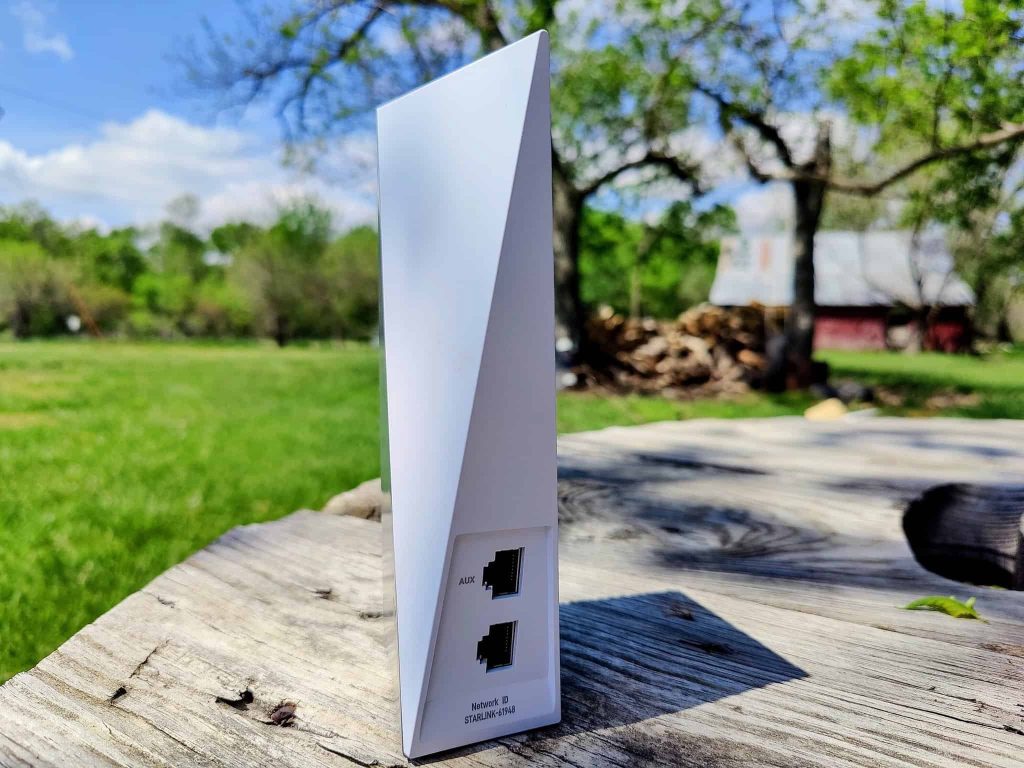
- Wi-Fi Router: The router connects your devices to the satellite dish, creating a local Wi-Fi network.
- Power Cables: These cables power both the dish and the router.
- Mounting Stand: This helps secure the dish in an optimal location for the best satellite signal.
- Instructions Manual: Starlink provides a user-friendly guide, but we’ll also go over key steps in this article.
If you are in a region where professional installation services are available, you may want to consider that option if you’re unfamiliar with satellite installations.
c) Choose the Right Location for Installation
For optimal performance, the Starlink dish must be placed in an area with an unobstructed view of the sky. South Sudan’s rural and urban environments may offer various challenges in terms of obstacles like trees, buildings, or mountains. The dish should be mounted in a location where it can automatically align with Starlink’s satellites, without interference.
d) Download the Starlink App
The Starlink app, available for both Android and iOS devices, is essential for setting up and configuring your Starlink kit. The app provides real-time information about satellite positioning and helps ensure proper dish alignment.
3. Step-by-Step Starlink Kit Installation
Step 1: Unbox the Starlink Kit
Upon receiving your Starlink kit, carefully unbox it to make sure all components are present and in good condition. You should have the satellite dish, Wi-Fi router, power cables, mounting stand, and any other necessary hardware. If anything is missing or damaged, you can contact Starlink customer service through the app or website.
Step 2: Assemble the Dish
Once all components are accounted for, start by assembling the satellite dish. The dish comes with a mounting stand that makes it easy to secure in place. Attach the dish to the stand following the instructions provided. The process is generally straightforward, and no specialized tools are required.
Step 3: Find the Optimal Spot
The most critical aspect of installing Starlink is choosing the right location for the satellite dish. Starlink’s performance heavily depends on the dish having a clear view of the sky. Use the Starlink app to scan your surroundings and identify the best placement. The app will alert you if there are any obstructions in the way.
- Rooftop or Pole Mount: The best location is often on a rooftop or a tall pole. If you can install the dish on your roof, it will likely offer the clearest view of the sky. In rural areas of South Sudan, where tall trees or structures could interfere, a pole mount might be necessary.
- Ground-Level Installation: If rooftop or pole installation isn’t feasible, you can place the dish on the ground, but be sure it’s away from obstructions. The dish automatically adjusts its position to find the best angle, but you should still ensure there are no large obstacles blocking the signal.
Step 4: Connect the Router and Power the Dish
After positioning the dish, it’s time to connect the Wi-Fi router. The router is pre-configured to work seamlessly with the dish, so setup is relatively easy:
- Plug the dish’s cable into the router.
- Connect the router to a power source using the provided cables.
- Ensure the dish is also powered by plugging it into an outlet.
The dish will automatically start searching for satellites once it is powered on. You will see it physically adjust and align itself as it finds the optimal position for signal reception.
Step 5: Activate and Configure Through the App
The Starlink app is the key tool for activating and configuring your Starlink internet service. After the hardware is connected and powered, open the app and follow the on-screen instructions to activate your service. The app will:
- Test your satellite dish’s connection to the Starlink network.
- Provide guidance on optimizing signal strength.
- Walk you through setting up a Wi-Fi network (naming your network and creating a password).
This process usually takes a few minutes, depending on how quickly the dish finds a stable connection with the satellite network. Once the system is fully configured, you will be prompted to test the connection.
Step 6: Test Your Internet Connection
After setup is complete, the app will run a diagnostic to check the quality of your internet connection. It measures the download and upload speeds and checks for any signal disruptions. If the speeds are lower than expected, you may need to reposition the dish slightly or remove any nearby obstructions.
On average, Starlink users can expect download speeds between 50 Mbps and 150 Mbps, depending on location and network traffic. In ideal conditions, some users may experience speeds up to 500 Mbps with the premium package.
4. Troubleshooting Common Issues

a) Obstructed View of the Sky
If you receive an error message about an obstructed view, try relocating the dish to a higher or more open area. Starlink’s app uses augmented reality to show potential obstructions, making it easier to identify the best location.
b) Dish Alignment Issues
If the dish fails to automatically align itself or you experience poor connectivity, ensure that it is securely mounted. Strong winds or shifting surfaces could misalign the dish, affecting performance.
c) Slow Speeds or Latency
If you encounter slow speeds, restart your router and dish. If the issue persists, ensure that there are no obstacles blocking the dish’s view of the sky, and check the app for any maintenance or network updates in your area.
5. Professional Installation Services in South Sudan
While Starlink kits are designed for easy self-installation, some users in South Sudan may prefer professional installation services. This can be particularly beneficial for those in rural areas with challenging terrain or in cases where the dish needs to be mounted in hard-to-reach places. Professional installers can ensure the dish is positioned correctly, minimizing the risk of future disruptions.
Once Starlink officially launches in South Sudan, it is expected that local authorized resellers or offices will provide installation services for an additional fee. These services will likely include mounting the dish, configuring the router, and optimizing the system for maximum performance.
6. How to Maintain Your Starlink Setup
Starlink is relatively low-maintenance, but periodic checks can help ensure optimal performance:
- Check for Obstructions: Over time, trees or other objects may grow and block the dish’s view. Regularly inspect the area around the dish to keep the signal clear.
- Clean the Dish: In South Sudan, dust or debris may accumulate on the dish, particularly during the dry season. Use a soft cloth to gently clean the dish’s surface and ensure it stays in good condition.
- Monitor Internet Speeds: Regularly check your connection speed using the Starlink app to ensure you’re getting the service level you’re paying for. If speeds drop significantly, consider repositioning the dish or consulting Starlink customer service.
Conclusion: The Future of Internet in South Sudan
Starlink’s satellite internet service has the potential to revolutionize connectivity in South Sudan, offering reliable, high-speed internet to rural and underserved communities. By understanding how to install the Starlink kit and optimize its performance, users can benefit from seamless internet access, even in remote regions.
While the installation process is designed to be simple and user-friendly, professional installation options will likely be available to help users in challenging environments. As Starlink continues to expand