How to Set Up Starlink Internet in South Sudan: A Step-by-Step Guide

Starlink, the satellite internet service by SpaceX, is a promising solution for South Sudan, where traditional internet infrastructure is often limited. Setting up Starlink in South Sudan involves several steps, from ordering the kit to ensuring a successful installation. This guide will help you navigate the process of setting up Starlink Internet in South Sudan.
1. Check Service Availability
Before purchasing the Starlink kit, confirm that Starlink is available in your location in South Sudan. To check availability:
- Visit the Starlink Website: Go to Starlink’s official website.
- Enter Your Address: Input your address or geographical coordinates to check if the service is available in your area.
- Sign Up for Notifications: If Starlink is not yet available, you can sign up for email notifications to be informed when the service becomes accessible.
2. Order Your Starlink Kit
Once Starlink confirms availability in your region, you can order your kit directly from the Starlink website. The kit includes a satellite dish, router, power supply, cables, and a mounting tripod.
Steps to Order:
- Go to the Starlink Website: Visit Starlink’s official website.
- Enter Your Address: Confirm service availability.
- Place Your Order: Follow the prompts to complete your order. The cost of the hardware is approximately $499 (around 900,000 South Sudanese Pounds (SSP)).
- Pay the Deposit: A deposit of $99 (approximately 180,000 SSP) may be required, which will be deducted from the total cost.
3. Receive and Prepare the Kit
After placing your order, you will receive a confirmation email with tracking details. Delivery times to South Sudan may vary, and additional customs duties and shipping fees may apply. Be prepared for these extra costs.
Upon Receiving the Kit:
- Unbox the Kit: Check the contents to ensure all items are included: dish, router, power supply, cables, and mounting tripod.
- Gather Tools: You might need a drill (for wall or roof installations), screws, and a screwdriver.
4. Install the Satellite Dish
Proper installation of the dish is crucial for optimal performance. Follow these steps:
- Choose the Installation Location: Find a spot with a clear view of the sky. Avoid areas with obstructions like trees or buildings.
- Mount the Dish: Use the included tripod for ground installations or mount the dish on a wall or roof. Ensure it is secure and stable.
- Connect the Dish: Attach the cable from the dish to the router. Make sure the connections are firm and properly aligned.
- Power the Equipment: Connect the power supply to the router and dish, and then plug it into an electrical outlet.
5. Configure the System
Once powered on, the Starlink dish will start the initialization process. This generally takes about 15 to 30 minutes as the dish aligns itself with the satellites.
Using the Starlink App:
- Download the Starlink App: Available for iOS and Android devices. The app will guide you through the setup process.
- Connect to the Router: Use your smartphone or computer to connect to the Starlink Wi-Fi network.
- Follow Setup Instructions: The app will help you verify the dish’s alignment and complete the final configuration steps.
6. Test Your Connection
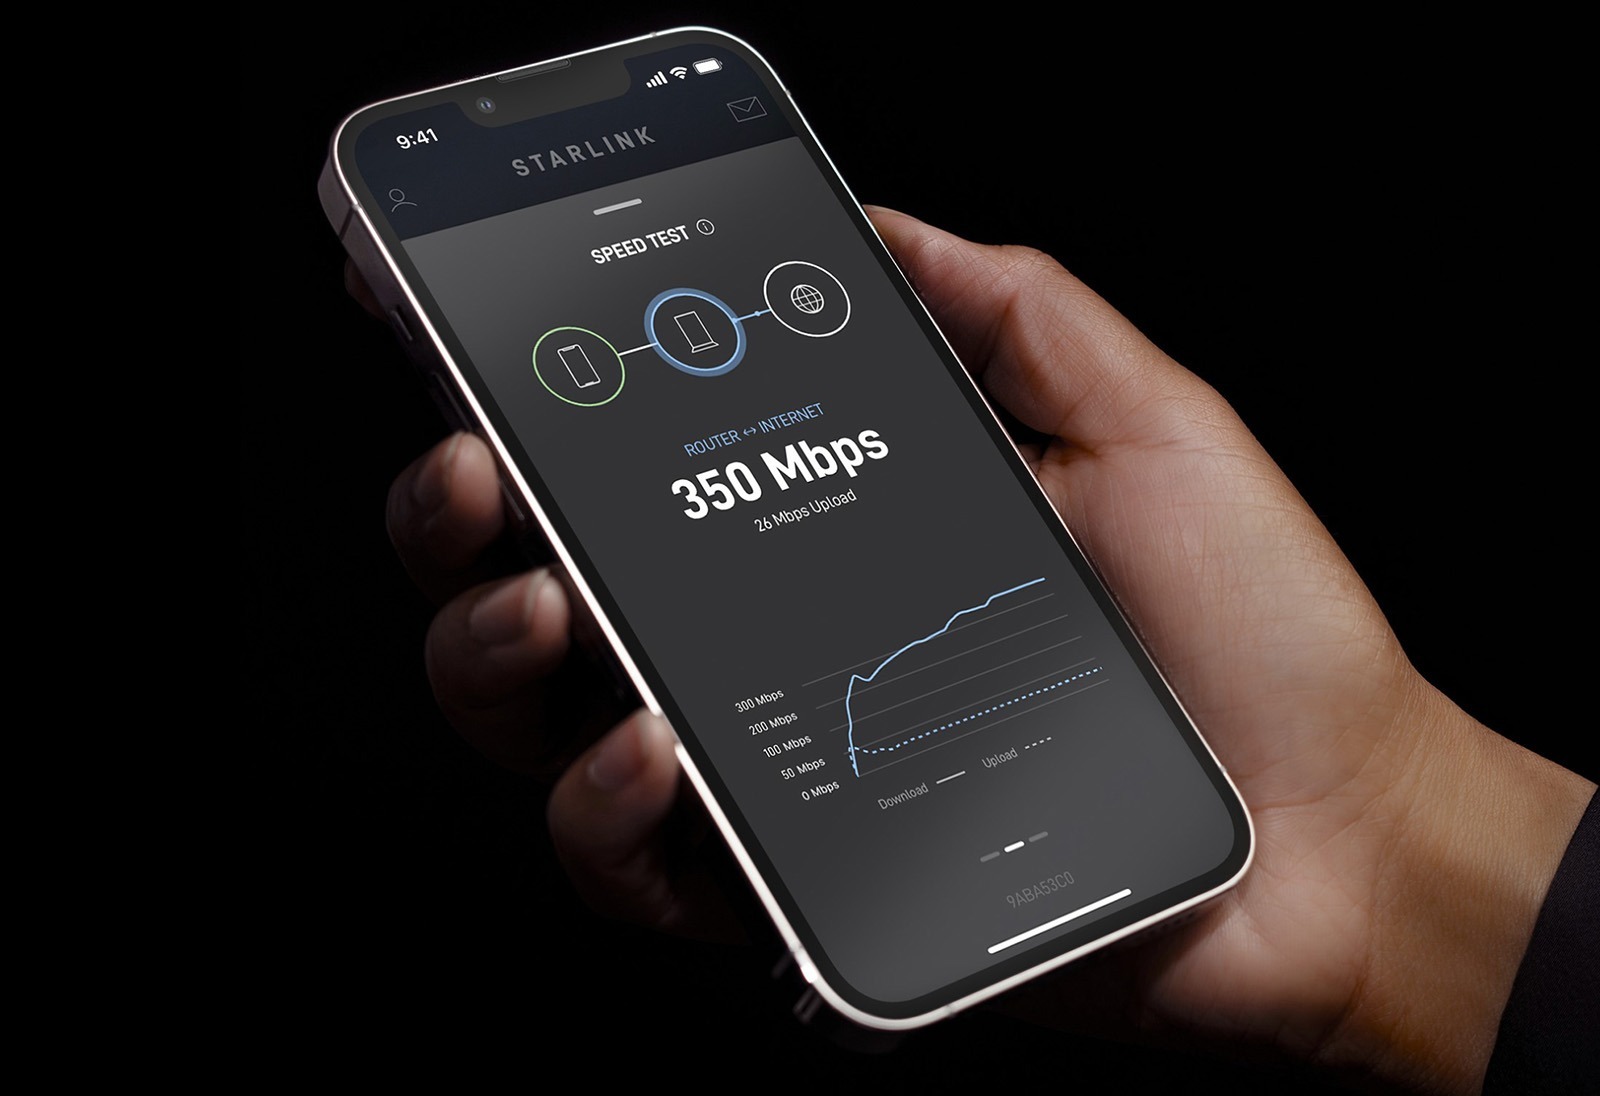
After setup, test your internet connection to ensure everything is working correctly:
- Perform Speed Tests: Use online tools to check your internet speed and ensure it meets the expected performance.
- Check Connection Stability: Monitor the connection for stability and reliability.
7. Troubleshooting
If you encounter any issues, follow these steps:
- Verify Dish Alignment: Ensure the dish has a clear, unobstructed view of the sky.
- Inspect Cables: Check that all cables are securely connected and undamaged.
- Restart Equipment: Power cycle the router and dish by unplugging and then plugging them back in.
- Consult the App: Use the Starlink app for troubleshooting tips and diagnostics.
- Contact Support: If problems persist, reach out to Starlink customer support via the app or website.
8. Maintenance
To ensure optimal performance:
- Clear Obstructions: Regularly check that the dish remains free of snow, leaves, or other debris.
- Monitor Performance: Use the Starlink app to track your connection and receive updates.
- Keep Equipment Clean: Wipe the dish and router periodically to maintain functionality.
Conclusion

Setting up Starlink Internet in South Sudan involves checking service availability, ordering the kit, installing the equipment, and configuring your system. Despite potential challenges such as shipping delays and customs fees, Starlink offers a valuable solution for accessing high-speed internet in areas with limited infrastructure. By following these steps, you can enjoy a reliable internet connection and bridge the digital divide in South Sudan.